

Kingdom Come: Deliverance II improves significantly over its predecessor, offering players a hardcore medieval simulation experience. The game follows Henry of Skalitz, an illegitimate son of the nobleman Sir Radzig, as he takes on the role of squire to the young Lord Sir Hans Capon. Players who have not yet experienced the game can Buy Cheap Kingdom Come: Deliverance II Accounts on Z2U to immerse themselves in representing medieval Bohemia. This immerses players in the realities of life during this era, from combat to social dynamics.
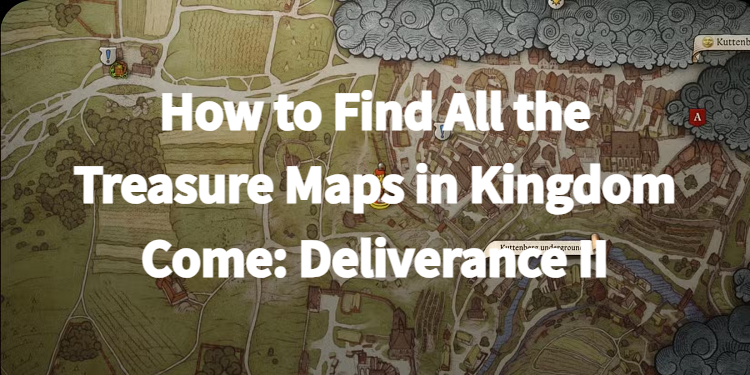
One of the many engaging features is the discovery of treasure maps throughout the world, which lead to hidden rewards like coin, valuable items, and rare crafting materials. These maps are typically found through random encounters while fast traveling and are flagged as "seeking man."
Here’s a guide to all the treasure maps in Kingdom Come: Deliverance II and the rewards they unlock.
First Treasure Map - Trosky Region
The first treasure map can be found through a random encounter and points to a location in the Trosky region, specifically near the rocky labyrinth of Apollonia. This area can be accessed by traveling from the northern part of Trosky Castle and looping south into Apollonia. When approaching from this route, the cave containing the treasure is on the right side of the road.
Inside the cave, players will find two sets of ladders leading to a room with a locked chest at its center. However, the chest is locked and requires a special key, the Key from Below Trosky, which is hidden inside a cracked skull on the far side of the room. After obtaining the key, players can open the chest to discover approximately 200 Groschen, two pieces of Frankfurt steel, and various other valuable items. While this is a modest reward compared to later treasures, it provides a helpful early-game boost, particularly for players looking to improve their crafting materials and coin supply.
Second Treasure Map - Devil's Finger
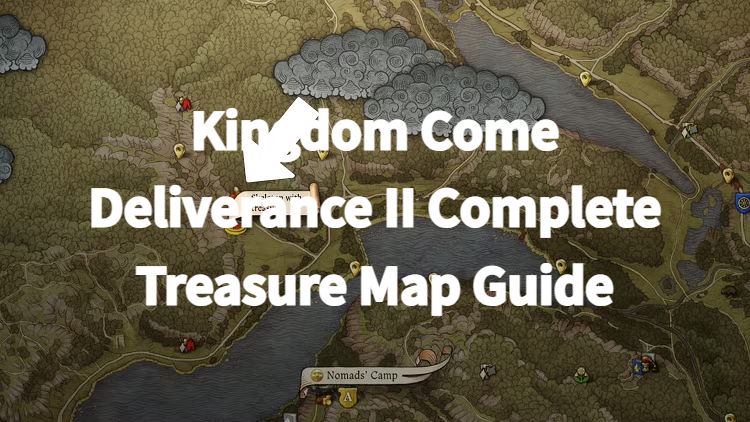
The second treasure map leads players to a ravine north of Rocktower Pond, where Henry and other envoys from Rattay are ambushed early in the game. This location is marked on the map as the Skeleton with Treasure, but the treasure is not easy to find.
To reach it, players must go to the top of Devil's Finger, a landmark that marks the start of the treasure’s path. At the top, players will find a small container with 200 Groschen, but this is not the main treasure. From here, look west to spot a fallen tree bridging a ravine. Cross the tree, then head south over another fallen tree, following the cliff edge. Eventually, players will spot a rock formation below that’s separated from the rest of the cliff. Carefully drop down, taking a small amount of fall damage, and reach a stone plinth where a skeleton rests with an old sack.
The sack contains 200 Groschen, jewelry, and a golden chalice. The chalice can be sold for a good sum of money, and jewelry is always useful in boosting Henry’s charisma. Players can either sell the jewelry for profit or keep it for the bonus to interactions with NPCs.
Third Treasure Map - Kuttenburg Region
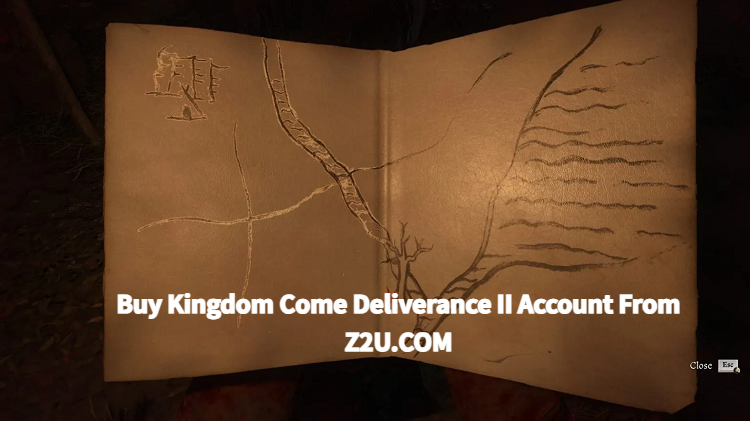
As players progress through Kingdom Come: Deliverance II, they will gain access to the Kuttenburg region, which becomes available later in the main questline. This map leads players into the underground tunnels beneath the region, which are notoriously confusing but filled with valuable loot.
The treasure location is inside a ruined house near one of the city’s entrances. The tunnels can be disorienting, so players should be prepared to explore. Upon entering, they need to take a left at the first archway and continue straight ahead until they reach a split in the cave. Following the water will lead them in the correct direction. Shortly after, they will encounter another junction with three possible paths. The right path will take them directly to the treasure.
At the end of this path is a large pile of rubble with a sack on top. The sack contains over 200 Groschen, valuable jewelry, and the Strength of the Knight III skill book. This skill book is an excellent find as it enhances Henry’s abilities, making it a useful reward for progressing in the game.
Fourth Treasure Map - Millstone Quarry, Kuttenburg Region
The final treasure map leads players to the southeast part of the Kuttenburg region, near the Millstone Quarry. This area is located south of the village of Bylany, where players can also engage in a side quest to help Jan Posy of Zimburg recover his captured brother and belongings.
To find the treasure, players should follow a small stream southeast out of the quarry, then turn right and follow another stream uphill. This path is blocked by a fallen tree, at which point players should turn left and continue until they find the final millstone. Nearby, they will discover a chest containing a Saxon Kettle Hat, the Skullcrushers Book III, money, and valuable jewelry. The Skullcrushers Book III is another skill book, which provides an additional combat boost, making this a great reward for players who newly Buy Kingdom Come: Deliverance II CD Keys and focus on improving their fighting skills.
Conclusion
The treasure maps in Kingdom Come: Deliverance II provide rewarding challenges that enhance the game’s immersive world. While the first few treasures offer modest rewards like Groschen and steel, later treasures unlock valuable items and skill books that can significantly impact gameplay. Whether you’re seeking coin, loot, or skills to enhance your abilities, the treasure maps scattered across Bohemia offer plenty of rewards for those brave enough to embark on the hunt.


